


We visited a truss plant and asked about the most common mistakes framers make when installing with trusses.
An Inside Look Into a Truss Factory

Updated on May 19, 2021
1
/
13
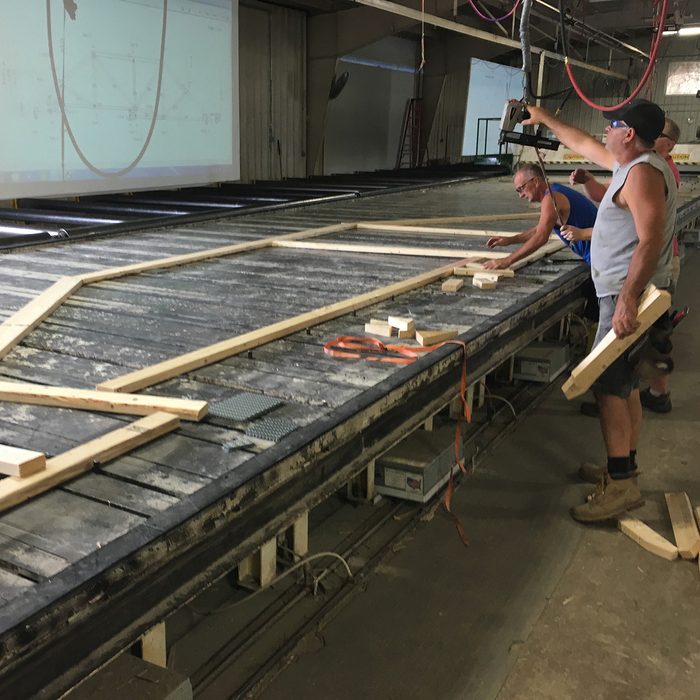
Automated Products Inc.
I got a chance visit the folks at Automated Products Inc. (API) in Marshfield, WI. They were kind enough to show me around the plant. They helped me compile a list of the most common mistakes they see contractors make when working with roof trusses. They also offered up some great advice on how to avoid those mistakes and future callbacks.
2
/
13

Don’t forget about the heel height
When ordering new trusses to match existing trusses include the following information: the slope, the span, and the heel height of the existing truss. Contractors often forget to include this last bit of information. If the heel height isn’t the same on two sets of trusses one will sit higher than the other.
3
/
13

Don’t undersize top-plate anchors
Truss screws are super popular because they’re fast and easy to install. API agrees that they are a ligit way to anchor most trusses to the top plate. But they may not be adequate for super long trusses. Whatever truss-to-top-plate restraint you use, check that they are rated to handle the maximum uplift on the truss you’re working with. Than information can be found in the “Reaction” section of your truss spec sheet.
Photo courtesy of USP Structural Connectors
4
/
13

Keep trusses aligned
Many roof trussed have a specific direction in which they need to be installed. Even if the webbing on two trusses looks exactly the same, one end may require a loadbearing wall underneath it, and the other may not. API paints one end of all their trusses so the framers can see exactly which way they need to be installed. API also attaches tags to the bottom of trusses that require additional bearing points.
5
/
13

Two-point pick up
Hoisting trusses up with one strap wrapped around the peak is asking for trouble. A spreader bar and two straps is the proper way to do it. Also, the straps should be toed in or out based on the handling instructions in your truss packet.

6
/
13

Install slotted anchors
Fasten the top-plate of interior walls to the bottom of roof trusses with slotted anchors (instead of toenailing). The center of trusses may move up and down a bit the first couple years after they’re installed. Slotted anchors allow the truss to move without pulling up on the top plate of the interior walls. If a truss lifts up enough it could pull the nails right out of the top-plate leaving only the drywall to hold it in place. That uplift will also cause cracks in the drywall, so remind the drywall installers not to screw down the lid within 16 inches of interior walls.
7
/
13
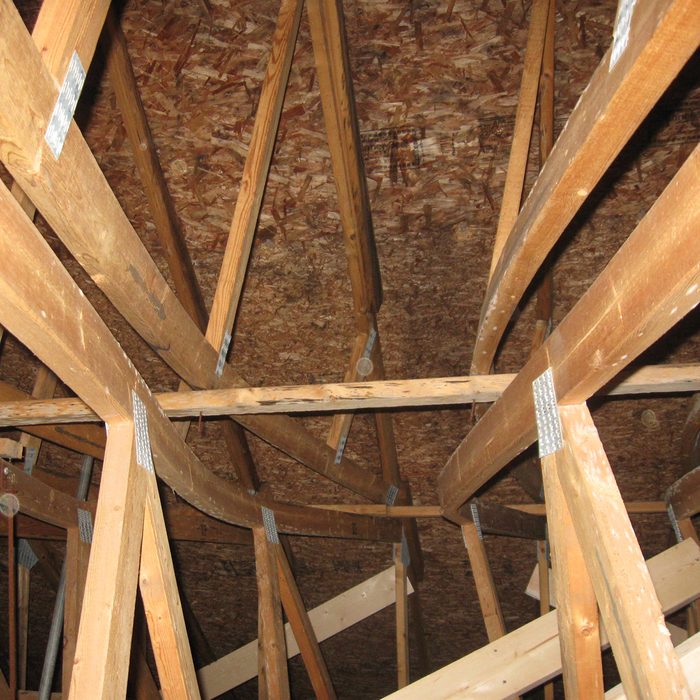
Follow bracing diagram
The bracing instructions in your truss packet are not a recommendation—they’re a requirement. Improper or inadequate bracing is one of the biggest mistakes framers make.
Really tall trusses need to be shipped in two sections; they’re called piggyback trusses. In this photo, the bracing requirements were not followed which resulted in big plate of truss spaghetti.
8
/
13

Smart layout
This is more of a time saving tip. Start the first truss so a full sheet of decking can be installed from the edge of the fascia without having to be trimmed.
9
/
13

Store trusses on even ground
Storing trusses on uneven ground probably won’t destroy them, but they could retain a bowed shape and become a framing nightmare.
10
/
13

Don’t over load trusses
Spread the load when hauling up shingles and decking. A full pallet of asphalt shingles set on the peak of a roof could very well end up in the basement.
11
/
13

Never, never, never cut a truss
Most framers know not to cut any part of a truss except the tail, but sometimes it’s tempting to cut a web to make room for whatever. But don’t assume you can just call the truss company for a quick fix involving a plywood gusset. Sometimes the only fix for a cut truss is to order another that will need to be sistered onto the damaged one.
12
/
13
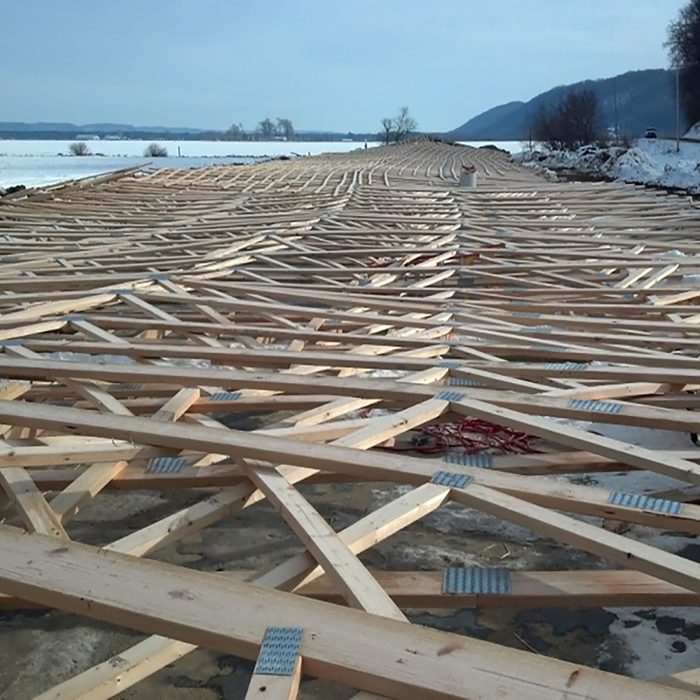
Secure before you leave
Always install temporary bracing whenever you leave the jobsite and the trusses have not been fully installed and decked. If the wind kicks up over the weekend you may have a nasty surprise waiting for you on Monday morning. Again, check the packet for temporary bracing instructions. Are you getting the feeling that there is a lot of helpful information in your truss packet? There is!
Not only were the trusses on this Ag building not temporarily braced, neither were the walls. Yikes!
13
/
13

We’d Love to Hear From You
Do you have a jobsite or tool tip that makes your work-life easier, safer, or just more fun? Why not share it with your construction comrades? Plus, you can show off your professional prowess to your family and friends.
Click the image below to send us your Pro Tips! Please include an image if you can. We will contact you if we run your submission on the site.
